
Introduction to Homemade Cheese
For many cheese lovers, the idea of making their own cheese at home is an exciting prospect. This process allows you to control the ingredients and flavors, resulting in a product that is uniquely yours. In this guide, we will explore the basics of cheese making, the benefits of homemade cheese, and why parmesan cheese makes an excellent choice for a homemade cheese recipe.
-
- Understanding the Basics of Cheese Making
Cheese making is a fascinating process that involves the coagulation of milk proteins to form a solid mass. This is achieved through the addition of rennet, an enzyme that curdles the milk, and the application of heat. The curd is then cut, cooked, and drained before being pressed into molds. The cheese is then aged for a specific period, depending on the type of cheese being made.
-
- Benefits of Homemade Cheese
Making your own cheese at home has several benefits. Firstly, you have complete control over the ingredients used, allowing you to avoid preservatives and artificial flavors often found in store-bought cheeses. Secondly, homemade cheese is often fresher and more flavorful than its commercial counterparts. Lastly, cheese making is a fun and rewarding hobby that can be enjoyed by the whole family.
-
- Why Choose Parmesan Cheese for a Homemade Cheese Recipe
Parmesan cheese is a great choice for a homemade cheese recipe for several reasons. It is a hard, granular cheese that is relatively easy to make at home. The flavor of homemade parmesan is rich and complex, making it a delicious addition to a variety of dishes. Additionally, parmesan cheese has a long shelf life, so you can enjoy your homemade cheese for months to come.
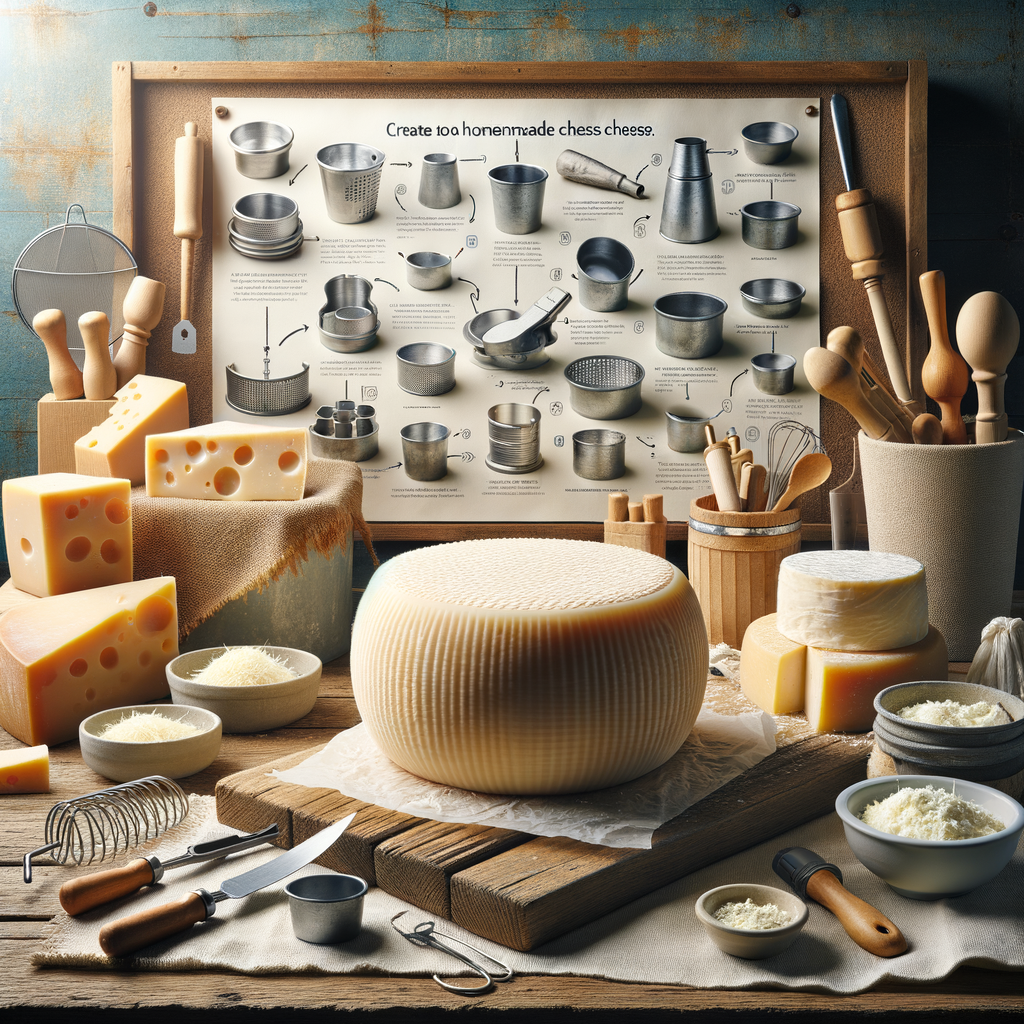
Essential Tools for DIY Parmesan Cheese
Making your own Parmesan cheese at home is a rewarding experience. However, to ensure the best results, you need the right tools. In this section, we’ll discuss the essential tools for DIY Parmesan cheese making, where to buy them, and how to maintain them.
-
Tools Needed for Cheese Making at Home
To make Parmesan cheese at home, you’ll need a few specific tools. These include:
- Cheese vat: This is where you’ll heat your milk. It’s important to choose a vat that can maintain a steady temperature.
- Cheese thermometer: Accurate temperature is crucial in cheese making. A good thermometer will ensure your milk is at the perfect temperature for curdling.
- Cheese knife: This tool is used to cut the curd into small pieces, a key step in the cheese making process.
- Cheese mold: This is what gives your cheese its shape. Parmesan cheese typically has a hard, cylindrical shape.
- Cheese press: This tool applies pressure to the cheese, helping to remove whey and form the cheese.
-
Where to Buy Cheese Making Tools
You can find cheese making tools in a variety of places. Specialty kitchen stores often carry them, as do many online retailers. Websites like Amazon and eBay have a wide selection of cheese making tools. You can also check out Curd Crafters for high-quality, reliable tools.
-
How to Maintain Your Cheese Making Tools
Maintaining your cheese making tools is essential for their longevity and for the quality of your cheese. Here are a few tips:
- Cleanliness: Always clean your tools thoroughly after each use. This prevents bacteria and mold growth.
- Storage: Store your tools in a dry, cool place. Moisture can cause rust and other damage.
- Regular checks: Regularly check your tools for any signs of wear and tear. Replace any tools that are damaged or no longer functioning properly.
With the right tools and proper care, you can enjoy the process of making your own Parmesan cheese at home. Happy cheese making!
Ingredients for Your Parmesan Cheese Recipe
Creating your own parmesan cheese at home can be a rewarding experience. However, it’s essential to understand the key ingredients that go into the process. Let’s explore these ingredients in detail.
-
- Choosing the Right Milk for Your Homemade Parmesan
Choosing the right milk is the first step in making delicious homemade parmesan cheese. The best choice is raw cow’s milk, which contains the necessary fat and proteins. However, if you can’t find raw milk, you can use pasteurized milk as long as it’s not ultra-pasteurized. Ultra-pasteurized milk has been heated to such high temperatures that it doesn’t form curds properly.
-
- Understanding the Role of Rennet in Cheese Making
Rennet is a crucial ingredient in cheese making. It’s an enzyme that coagulates the milk, turning it from a liquid into a solid. This process forms the curds that are the basis of your cheese. There are different types of rennet, including animal, vegetable, and microbial, but all perform the same function.
-
- Importance of Cheese Salt in Your DIY Cheese Recipe
Cheese salt plays a vital role in cheese making. It enhances the flavor, helps in preserving the cheese, and assists in the formation of the rind. Cheese salt is different from table salt as it doesn’t contain iodine, which can inhibit the growth of the bacteria necessary for cheese making.
By understanding these key ingredients, you’re well on your way to making delicious homemade parmesan cheese. Remember, the quality of your ingredients will directly affect the taste of your final product, so choose wisely!
Step-by-Step Homemade Parmesan Recipe
Let’s dive into the exciting process of making your own parmesan cheese at home. We’ll start with the preparation phase, which is crucial for the success of your cheese-making endeavor.
Preparation
Before we begin the actual cheese-making process, it’s very important to prepare everything we need. This includes both our ingredients and our tools. Let’s take a closer look at these two steps.
-
- Preparing your ingredients
Start by gathering all your ingredients. You’ll need approximately 2 gallons of milk, 1/4 teaspoon of mesophilic starter culture, 1/4 teaspoon of lipase powder, 1/2 teaspoon of liquid calcium chloride, and 1/2 teaspoon of liquid rennet. Make sure your milk is fresh and of high quality, as this will significantly impact the taste of your cheese. Also, remember to dilute the calcium chloride and rennet in non-chlorinated water before use.
-
- Sanitizing your tools
Next, you need to sanitize all your cheese-making tools. This includes your cheese vat, knife, curd cutter, cheese mold, and cheese press. You can do this by boiling them in water or using a special sanitizing solution. This step is crucial to prevent any unwanted bacteria from contaminating your cheese.
Once you’ve prepared your ingredients and sanitized your tools, you’re ready to start the cheese-making process. Patience and attention to detail are key in cheese making. Happy cheese crafting!
Cheese Making Process
-
- Heating the Milk
The first step in the cheese making process is heating the milk. This is done to kill off any harmful bacteria and to prepare the milk for the addition of the rennet. The milk should be heated to a temperature of around 85-105°F (29-40°C). It’s also important to heat the milk slowly and stir it gently to prevent it from scorching.
-
- Adding the Rennet
Once the milk has reached the desired temperature, it’s time to add the rennet. Rennet is a complex of enzymes that coagulates the milk, turning it into a thick, custard-like consistency. This is a crucial step in the cheese making process, as it sets the stage for the formation of curds. The rennet should be diluted in a little cool, non-chlorinated water before being added to the milk. After adding the rennet, the milk should be left to set for about 1 hour.
-
- Cutting the Curd
After the milk has set, it’s time to cut the curd. This is done using a long knife or a curd cutter. The goal is to cut the curd into small, even pieces. This helps to release the whey and firm up the curds. The curds should be allowed to rest for a few minutes after cutting to let them firm up even more.
-
- Draining the Whey
Once the curds have firmed up, it’s time to drain off the whey. This is the liquid that separates from the curds during the cheese making process. The whey can be drained off by pouring the curds into a colander lined with fine cheesecloth. The curds should be allowed to drain for several hours or overnight, depending on the type of cheese being made.
-
- Pressing and Aging the Cheese
The final steps in the cheese making process are pressing and aging the cheese. The curds are placed in a cheese press and pressed under a specific weight for a certain amount of time. This helps to form the cheese into a solid block and expel any remaining whey. After pressing, the cheese is aged for a period of time to develop its flavor. The aging process can take anywhere from a few weeks to several years, depending on the type of cheese.
Troubleshooting Your Homemade Cheese
Even the most experienced cheese makers can occasionally encounter issues when making homemade cheese. However, don’t let this discourage you. With a little knowledge and some handy tips, you can easily overcome these common problems and continue to enjoy the rewarding process of cheese making.
-
- Common issues in homemade cheese making
There are several common issues that you might encounter when making homemade cheese. These include:
-
-
- Crumbly Cheese: This often occurs when the cheese is over-acidified or if too much rennet is used.
- Soft or Runny Cheese: This can be due to insufficient draining or not enough rennet or starter culture.
- Bitter Cheese: This can be caused by over-acidification, over-renneting, or if the cheese is aged at too high a temperature.
- Moldy Cheese: This is usually due to contamination during the cheese making process.
- Solutions to common cheese making problems
-
Here are some solutions to the common cheese making problems:
-
- Crumbly Cheese: Reduce the amount of rennet used and ensure the milk is not over-acidified.
- Soft or Runny Cheese: Make sure to drain the cheese properly and use the correct amount of rennet and starter culture.
- Bitter Cheese: Avoid over-acidification and over-renneting, and make sure the cheese is aged at the correct temperature.
- Moldy Cheese: Ensure all equipment is clean and sterilized before use to avoid contamination.
Practice makes perfect. Don’t be disheartened if your first few attempts don’t turn out as expected. Keep trying, learn from your mistakes, and soon you’ll be making delicious homemade cheese with ease.
Enjoying Your Homemade Parmesan
Once you’ve successfully made your homemade parmesan cheese, the next step is to enjoy it to the fullest. Here are some tips on how to best enjoy and store your homemade parmesan.
-
Best Ways to Enjoy Your Homemade Parmesan
Homemade parmesan cheese is versatile and can be used in a variety of dishes. Here are some of the best ways to enjoy your homemade parmesan:
- Grate it over pasta: Parmesan cheese and pasta are a classic combination. Simply grate some of your homemade parmesan over your favorite pasta dish for a delicious meal.
- Use it in salads: Parmesan cheese can add a unique flavor to salads. Try adding some shaved parmesan to your next salad.
- Pair it with wine: Parmesan cheese pairs well with a variety of wines, especially full-bodied reds and crisp whites. Enjoy a glass of your favorite wine with a piece of your homemade parmesan for a delightful treat.
- Make a cheese board: A cheese board is a great way to showcase your homemade parmesan. Pair it with some fresh fruits, nuts, and a selection of other cheeses for a delicious and visually appealing spread.
-
Storing Your Homemade Parmesan
Proper storage of your homemade parmesan is essential to maintain its quality and extend its shelf life. Here are some tips on how to store your homemade parmesan:
- Wrap it properly: Wrap your homemade parmesan in wax or parchment paper, then put it in a loose plastic bag. This allows the cheese to breathe while keeping it fresh.
- Store it in the right place: The best place to store your homemade parmesan is in the vegetable drawer of your refrigerator. The humidity in this part of the fridge is just right for keeping your cheese fresh.
- Don’t freeze it: While it might be tempting to freeze your homemade parmesan to extend its shelf life, this can actually alter its texture and flavor. It’s best to enjoy your cheese within a few weeks of making it.
Conclusion: The Joy of Cheese Making at Home
As we wrap up our journey into the world of homemade cheese, we can’t help but marvel at the magic that transforms simple ingredients into a culinary delight. Let’s take a moment to reflect on what we’ve learned and look forward to future cheese making endeavors.
-
- Recap of the homemade parmesan cheese recipe
We started with a simple set of ingredients: fresh milk, rennet, and cheese salt. We learned about the essential tools needed for the process, including a large pot, cheese mold, and cheese press. We followed a step-by-step guide, from heating the milk to pressing the curds, and finally, aging the cheese. We also discussed potential issues that might arise and how to troubleshoot them. The result? A delicious, homemade parmesan cheese that’s a testament to your culinary skills.
-
- Encouragement for future cheese making endeavors
Cheese making is both an art and a science. It takes time, patience, and practice to master. But don’t be disheartened if your first few attempts don’t turn out as expected. Keep trying, keep learning, and keep experimenting. The joy of cheese making isn’t just about the end product, but also the journey of discovery and creativity. So, keep that pot simmering, that cheese press pressing, and that passion burning. Your next cheese masterpiece is just a curd away!
As the famous saying goes, “Age is of no importance unless you’re a cheese.” So, embrace the process, enjoy the journey, and remember – the best cheese is the one you make yourself. Happy cheese making!